Chapter 6: Authentication
Right now, anyone can see everyone's entries. Let's add login and make data private.
Authentication is the difference between a toy project and a real app. After this chapter, users will sign up, log in, and only see their own data. We'll use Firebase Authentication with email/password -- the simplest auth method that covers all our needs.
What You'll Build
- Login and signup screens with form validation
- A
useAuth()custom hook for auth state management - Auth-aware Firestore queries (users only see their own entries)
- Updated security rules for Firestore and Storage
- Logout functionality on the Profile page
- Auth state persistence (stay logged in across sessions)
What You'll Learn
- Firebase Authentication flow (create user, sign in, sign out)
onAuthStateChangedlistener -- Firebase's auth observer- How to scope Firestore queries to a user with
where() - Security rules that use
request.auth - The pattern for protecting routes in a React app
Step 1: Understand the Auth Flow
Before writing any code, let's understand how Firebase Authentication works:
App loads
    ↓
onAuthStateChanged listener fires
    ↓
┌─────── User IS signed in? ──────┐
│                                  │
▼ YES                          ▼ NO
Show app                    Show login screen
(entries filtered             │
 by user ID)            ┌─────┴─────┐
                        │           │
                    Login         Signup
                        │           │
                        └─────┬─────┘
                              ↓
                       Auth succeeds
                              ↓
                    onAuthStateChanged fires
                              ↓
                         Show app
Key principle: The app doesn't check auth once and move on. onAuthStateChanged is a real-time listener -- just like onSnapshot for Firestore. It fires every time the auth state changes (login, logout, token refresh).
Step 2: Build the useAuth Hook
This hook is the foundation of the entire auth system. It listens for auth state changes in real time and exposes functions for signup, login, and logout.
$ claude "Create an authentication hook at src/hooks/useAuth.ts that tracks whether a user..."Why loading starts as true
When the app first loads, Firebase needs a moment to check if there's an existing session. During that time, we don't know if the user is logged in or not. The loading flag prevents showing the login screen for a split second before the auth state is resolved.
Firebase handles session persistence automatically
Firebase stores the auth token in localStorage. When the user closes the browser and reopens it, onAuthStateChanged fires with the stored user -- no re-login required. You get session persistence for free.
Step 3: Build the Auth Screen
This is the UI component users see when not logged in. It handles both login and signup in one screen with a toggle.
$ claude "Create a login/signup screen at src/pages/AuthScreen.tsx. It should have email a..."Error handling matters
Firebase returns error codes like auth/user-not-found. Users don't understand those. The AuthScreen should translate them into plain English:
| Firebase code | User sees |
|---|---|
auth/user-not-found | "Invalid email or password." |
auth/wrong-password | "Invalid email or password." |
auth/email-already-in-use | "An account with this email already exists." |
auth/too-many-requests | "Too many attempts. Please try again later." |
Notice we use the same message for "user not found" and "wrong password" -- this is a security best practice. Telling attackers that an email exists in your system is an information leak.
Step 4: Update the Profile Page
The Profile page currently has placeholder content. Let's replace it with real user data and a logout button.
$ claude "Update the Profile page to show the logged-in user's info. Display their email, ..."Step 5: Scope Firestore Queries to the User
Right now, everyone sees everyone's entries. We need to add a userId field to entries and filter by it. This is the critical step that makes data private.
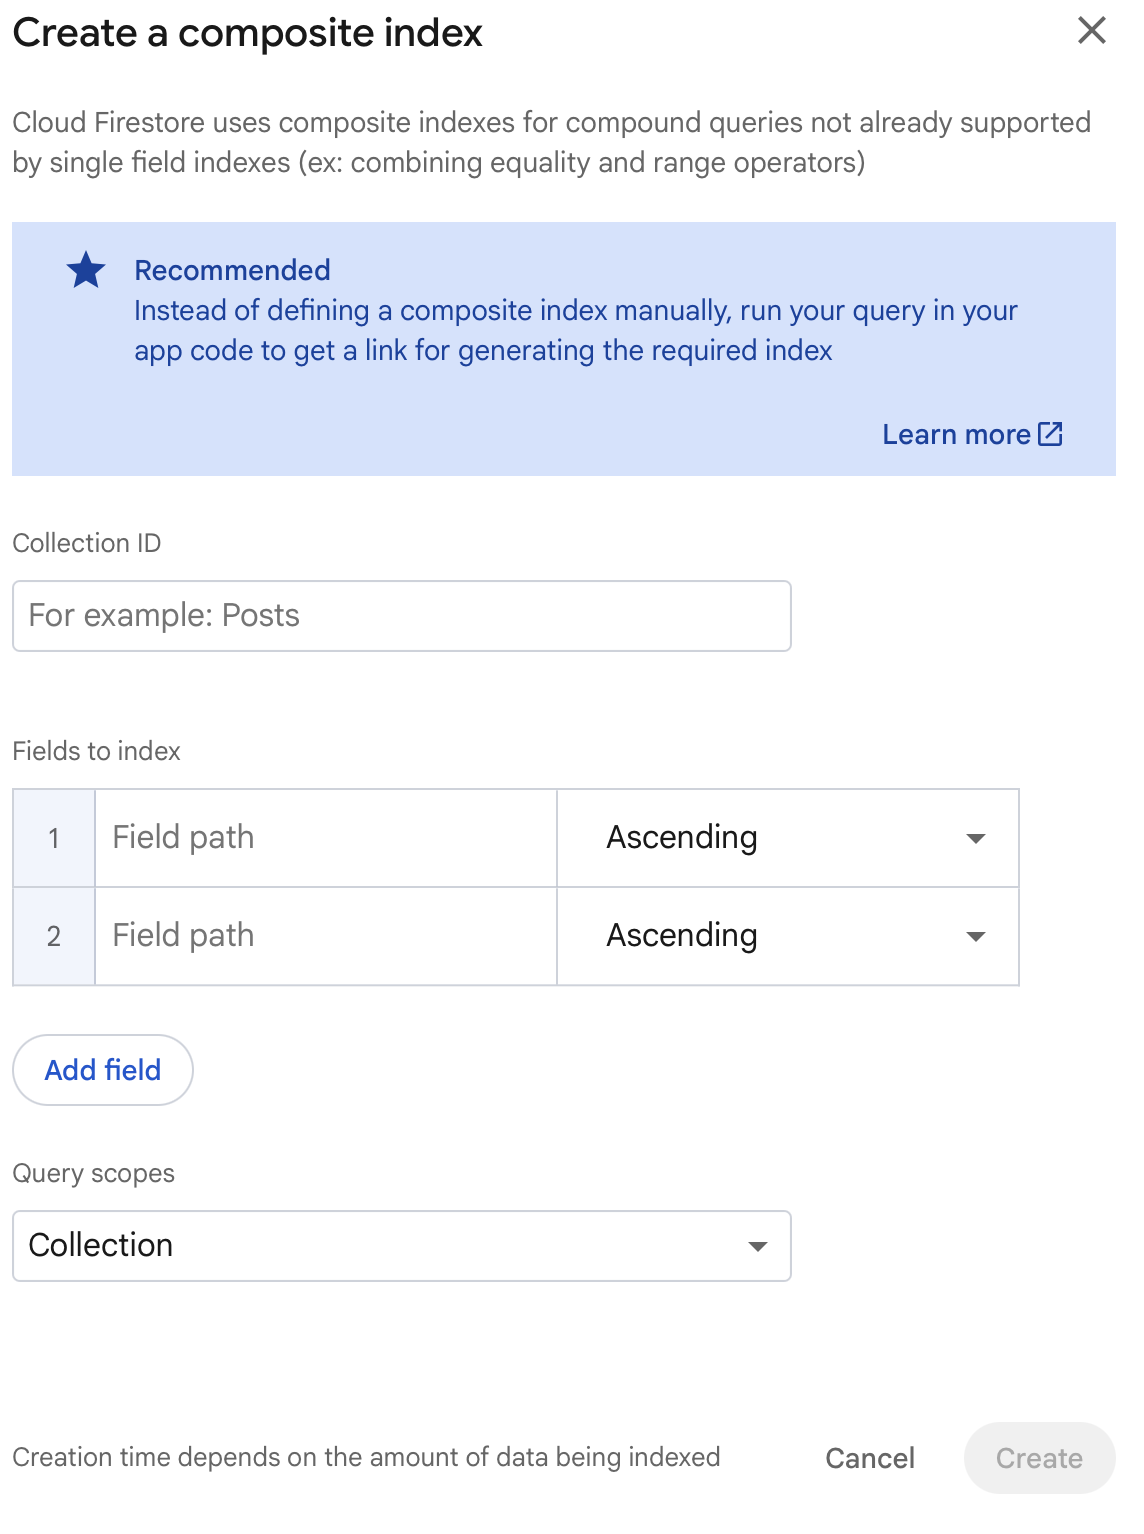
$ claude "Make entries user-specific. Update src/lib/types.ts to add a userId field to Ent..."Firestore requires a composite index for queries that filter on one field (userId) and order by another (createdAt). When you first run the app after this change, you'll likely see an error in your browser console with a direct link to create the index. Click that link, hit Create Index in the Firebase console, and wait 1-2 minutes for it to build. The feed will start working as soon as the index status changes from "Building" to "Enabled".
The critical change here is where('userId', '==', userId) in the Firestore query. This means each user only receives documents that belong to them. Notice that useEntries now takes a userId parameter -- when the user logs in or switches accounts, the subscription refreshes with the new userId.
Step 6: Wire Auth into App.tsx
Now we connect all the pieces. App.tsx needs to use the auth hook, show different screens based on auth state, and pass user data down to the components that need it.
$ claude "Update App.tsx to require login before using the app. Show a loading spinner whi..."The auth gate pattern
The app has three states:
- Loading -- checking auth state, show a spinner
- Not authenticated -- no user, show
AuthScreen - Authenticated -- user exists, show the full app
This is the simplest form of "route protection." No router library needed.
$ claude "Review my project and make sure the authentication is working correctly. Check t..."Step 7: Update Security Rules
Now that we have authentication, let's lock down Firestore and Storage so the backend enforces the same rules as the frontend.
Firestore rules
Go to the Firebase console, select Firestore Database, click the Rules tab, and replace the rules with:
rules_version = '2';
service cloud.firestore {
  match /databases/{database}/documents {
    match /entries/{entryId} {
      // Users can only read their own entries
      allow read: if request.auth != null
                  && resource.data.userId == request.auth.uid;

      // Users can only create entries for themselves
      allow create: if request.auth != null
                    && request.resource.data.userId == request.auth.uid;

      // Users can only update/delete their own entries
      allow update, delete: if request.auth != null
                            && resource.data.userId == request.auth.uid;
    }
  }
}
Storage rules
In the Firebase console, select Storage, click the Rules tab, and replace the rules with:
rules_version = '2';
service firebase.storage {
  match /b/{bucket}/o {
    match /entries/{filename} {
      // Anyone signed in can read photos
      allow read: if request.auth != null;

      // Anyone signed in can upload (max 10MB)
      allow write: if request.auth != null
                   && request.resource.size < 10 * 1024 * 1024;
    }
  }
}
Click Publish for each set of rules.
What these rules enforce
- No anonymous access -- every request must have
request.auth != null - Data isolation -- users can only read/write their own entries (
userId == request.auth.uid) - File size limits -- uploads are capped at 10MB
- Even if someone manually crafts a Firestore request with another user's ID, the security rules will block it
Step 8: Test Authentication
Start the dev server:
npm run dev
Then walk through this checklist:
- Open the app -- you should see the login screen (not the app)
- Click "Sign up" -- create an account with an email and password
- After signup -- you should be redirected to the app automatically
- Create some entries -- they should work as before
- Open the Firebase console and check Authentication -- you should see your user
- Check Firestore -- entries should now have a
userIdfield - Refresh the page -- you should still be logged in (session persistence)
- Log out (Profile tab, then Log Out) -- back to the login screen
- Log in again -- your entries should still be there
Test data isolation
- Create Account A with some entries
- Log out
- Create Account B
- Account B should see an empty feed -- Account A's entries are private
If any step fails, copy-paste the error from your browser console or terminal into Claude Code. It will diagnose and fix the issue.
Checkpoint
Your app should now:
- The app shows a login screen when not authenticated
- Users can sign up with email and password
- Users can log in to an existing account
- Entries are scoped to the logged-in user -- each user sees only their data
- Refreshing the page keeps the user logged in
- Logging out returns to the login screen
- The Profile page shows the user's email and entry count
- Firestore security rules block unauthorized access
What's Next
Your app is functional and secure. In the next chapter, we'll add the finishing touches -- empty states, loading skeletons, toast notifications, and an onboarding experience that makes the app feel polished and complete.
Follow @parvsondhi for build threads, tips, and updates on this tutorial.