Chapter 1: Setting Up Your Dev Environment
Before we build anything, let's get your machine ready. This chapter gets you from zero to a working development setup.
By the end of this chapter, you'll have everything installed, a project open in Cursor, and Claude Code ready to go. This is the "boring" chapter — but skipping it is the #1 reason beginners get stuck later.
What You'll Install
- Xcode Command Line Tools — essential developer tools for macOS (you need this before anything else)
- Node.js 18+ — the runtime that powers everything
- Cursor — your code editor (or any editor you prefer)
- Claude Code — your AI coding partner for this entire tutorial
Step 1: Install Xcode Command Line Tools (Do This First!)
Xcode Command Line Tools provide the compilers and developer utilities that macOS needs to install almost everything else — including Node.js. If you skip this step, you'll likely hit errors when trying to install Node.js or other tools.
Open your terminal (press Cmd + Space, type "Terminal", hit Enter) and run:
xcode-select --install
A dialog will pop up asking you to install. Click Install and wait for it to finish. This can take a few minutes.
Verify
xcode-select -p
You should see a path like /Library/Developer/CommandLineTools or /Applications/Xcode.app/Contents/Developer. Either is fine.
The full Xcode app (~8 GB download from the Mac App Store) is only needed later when we wrap the app for iOS with Capacitor. The Command Line Tools are enough for everything in Parts 1–4 of this tutorial. We'll tell you when to install the full Xcode app.
Step 2: Install Node.js
Node.js is the runtime that powers React, Vite, Claude Code, and all our command-line tools. We recommend Node.js 20 LTS (Long Term Support).
Option A: Direct Download (Simplest)
- Go to nodejs.org
- Download the LTS version (should be 20.x or newer)
- Run the installer and follow the prompts
Option B: Using nvm (Recommended for Developers)
nvm (Node Version Manager) lets you switch between Node.js versions easily:
curl -o- https://raw.githubusercontent.com/nvm-sh/nvm/v0.40.1/install.sh | bash
Important: Close your terminal completely and reopen it. Then run:
nvm install 20
nvm use 20
nvm alias default 20
Verify
node -v
You should see v20.x.x or newer.
npm -v
You should see 10.x.x (bundled with Node 20+).
Step 3: Install Your Code Editor
You need a code editor to view and browse the files Claude Code creates. We recommend Cursor because it has built-in AI features that complement Claude Code, but you can use whatever you're comfortable with.
Cursor (Recommended)
- Download from cursor.com
- Install and open it
- It works just like VS Code with added AI features
Other Options
You can also use VS Code, Sublime Text, or any editor you prefer. The tutorial works the same regardless of which editor you choose — Claude Code creates and modifies files, your editor just lets you browse them.
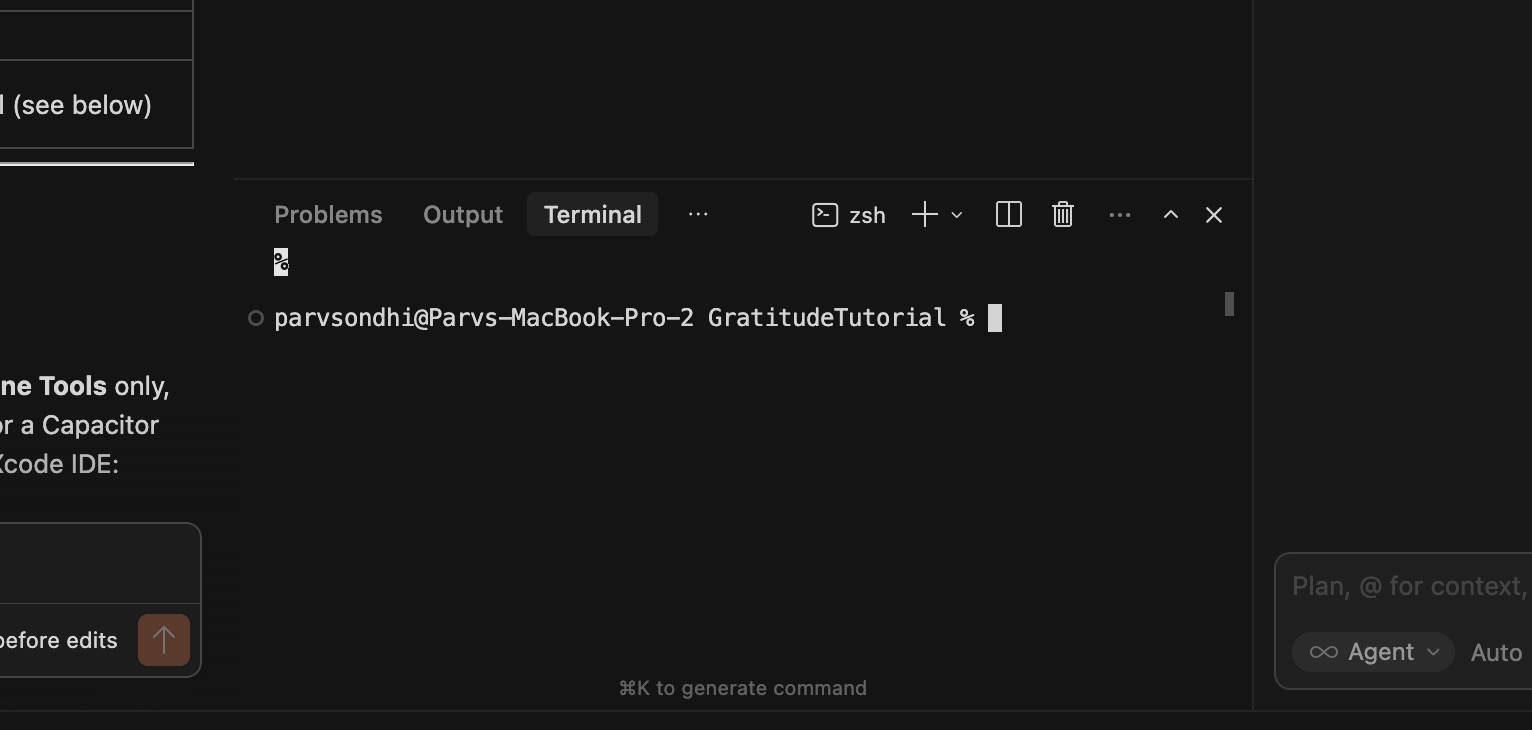
Using the Terminal Inside Cursor
Cursor (and VS Code) has a built-in terminal. Press Ctrl + ` (backtick) to open it. When you open a project folder in Cursor, the integrated terminal automatically starts in that project directory — so you don't need to cd anywhere. You can run all your commands (npm, claude, etc.) right inside Cursor.
This means you can have your code editor and terminal side by side in one window.
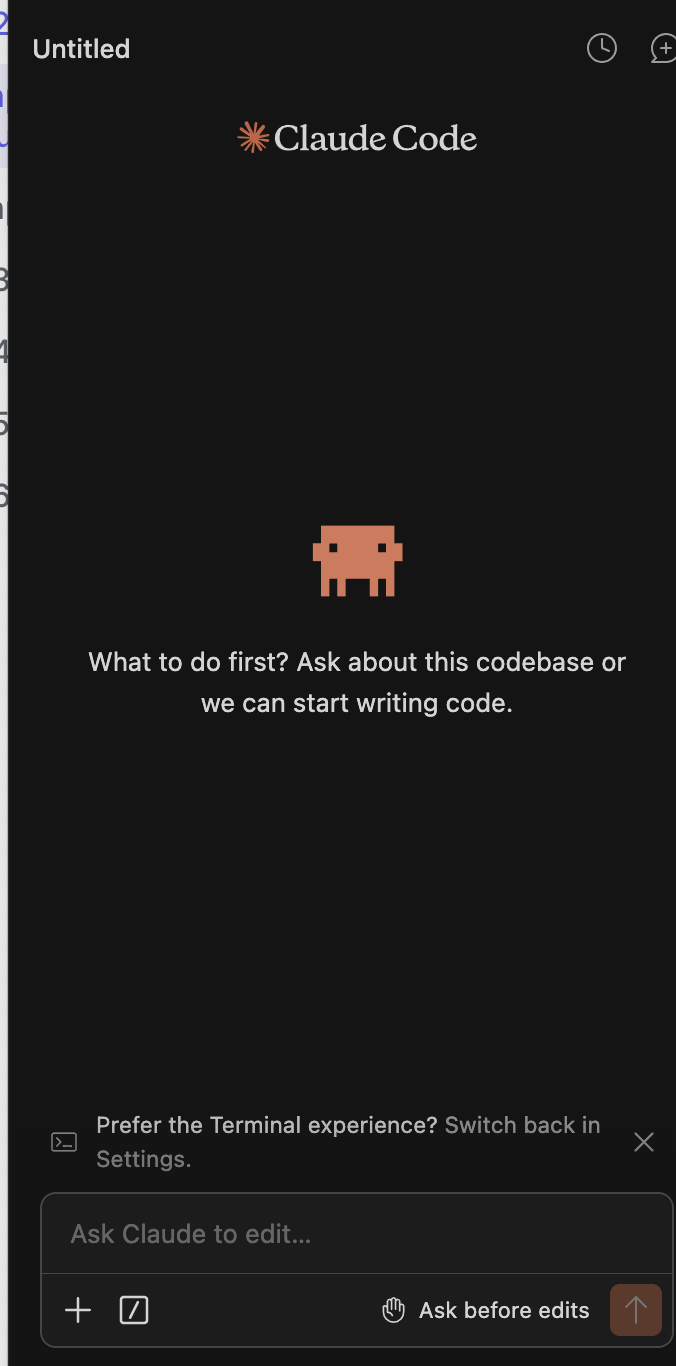
Step 4: Install Claude Code
Claude Code is the AI coding partner you'll use throughout this entire tutorial. Instead of manually typing out hundreds of lines of code, you describe what you want in plain English, and Claude Code writes the actual code for your project.
Install via npm
Now that Node.js is installed, you can install Claude Code:
npm install -g @anthropic-ai/claude-code
Optional: Claude Code extension in Cursor or VS Code
If you use Cursor or VS Code, you can also install the official Claude Code extension from the marketplace: open the Extensions view, search for claude, and install the one published by Anthropic (look for the verified publisher badge).
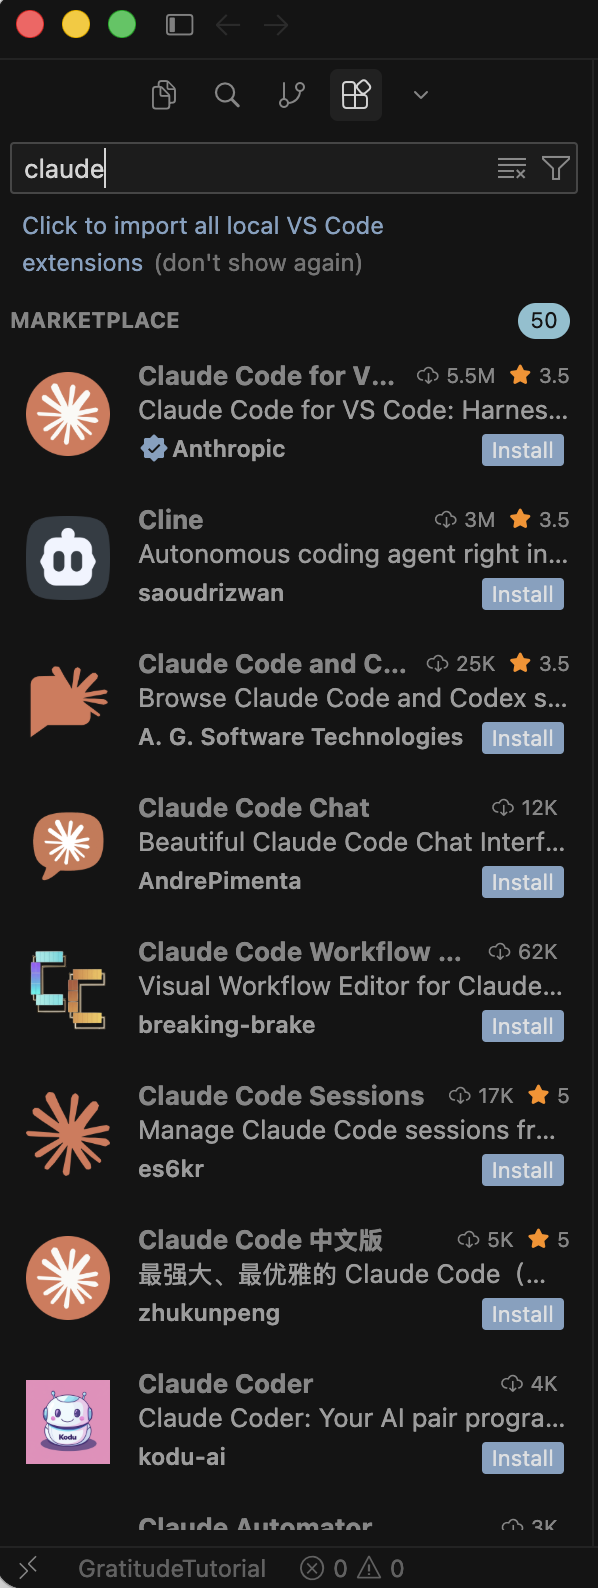
This is optional. The main workflow in this tutorial is Claude Code in the terminal (below), which works with or without the extension.
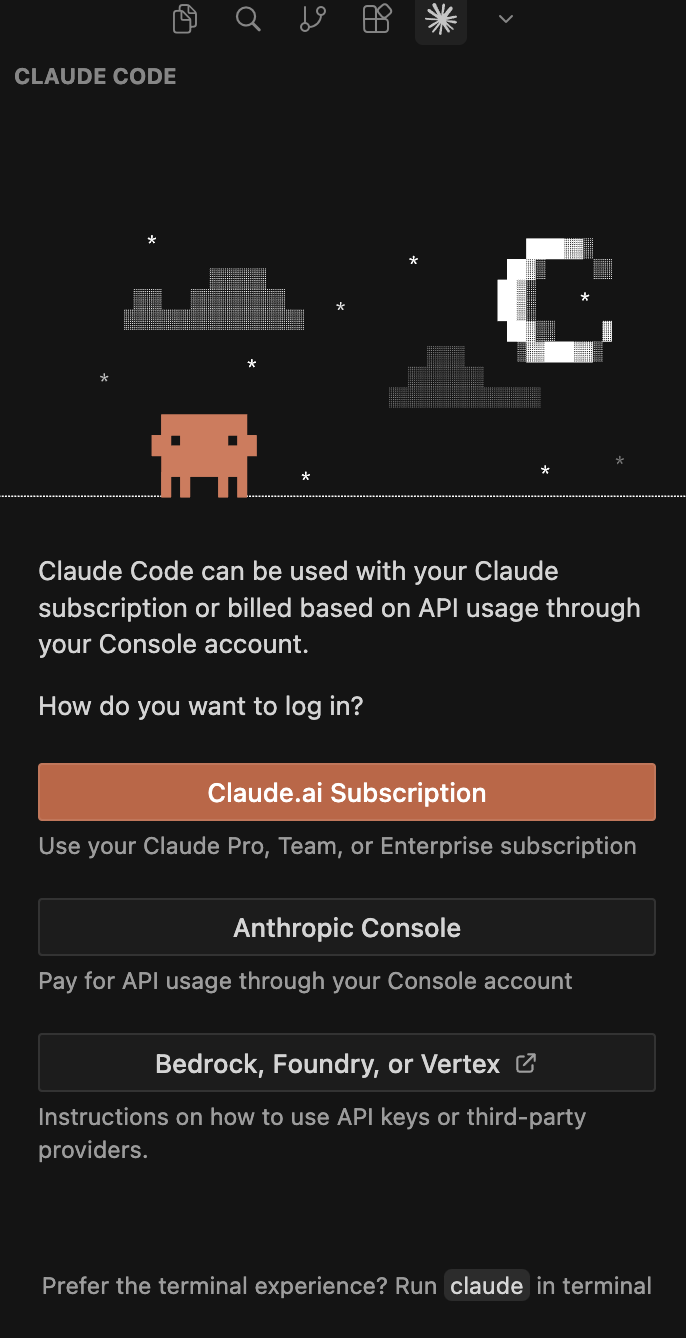
Set up authentication
After installing, run claude in your terminal to start it:
claude
Follow the prompts to connect your Anthropic account. Once you see the Claude Code prompt, you're ready.
Verify
claude --version
How Claude Code works
Claude Code runs right in your terminal. Here's what to expect:
- You type a prompt — describe what you want in plain English
- Claude Code responds — it may ask to create or edit files, run commands, etc.
- You approve changes — Claude Code asks for permission before modifying your project
- Files are created/updated — the code appears in your project automatically
You can also use Claude Code in other ways:
| Option | How | Best for |
|---|---|---|
| Terminal | Run claude in your terminal | The primary way we'll use it in this tutorial |
| In Cursor | Claude Code integrates with Cursor and other editors | If you prefer staying in your editor |
| On the web | Visit claude.ai/code | Coding on the go from any device |
Step 5: Install Git (Optional)
Git tracks changes to your code and lets you push it to GitHub for backup. You don't need Git to complete this tutorial — your project saves locally on your machine. But if you want to use GitHub for backup or sharing, here's a quick setup.
Check if Git is already installed
git --version
If you see a version number, you're good! If it's not installed, the Xcode Command Line Tools (Step 1) should have included it.
If you want to store your code on GitHub, create an account at github.com and configure Git:
git config --global user.name "Your Name"
git config --global user.email "your@email.com"
You don't need SSH keys — HTTPS works fine for this tutorial. We'll mention Git commands at the end of chapters for those who want to commit, but you can always skip them.
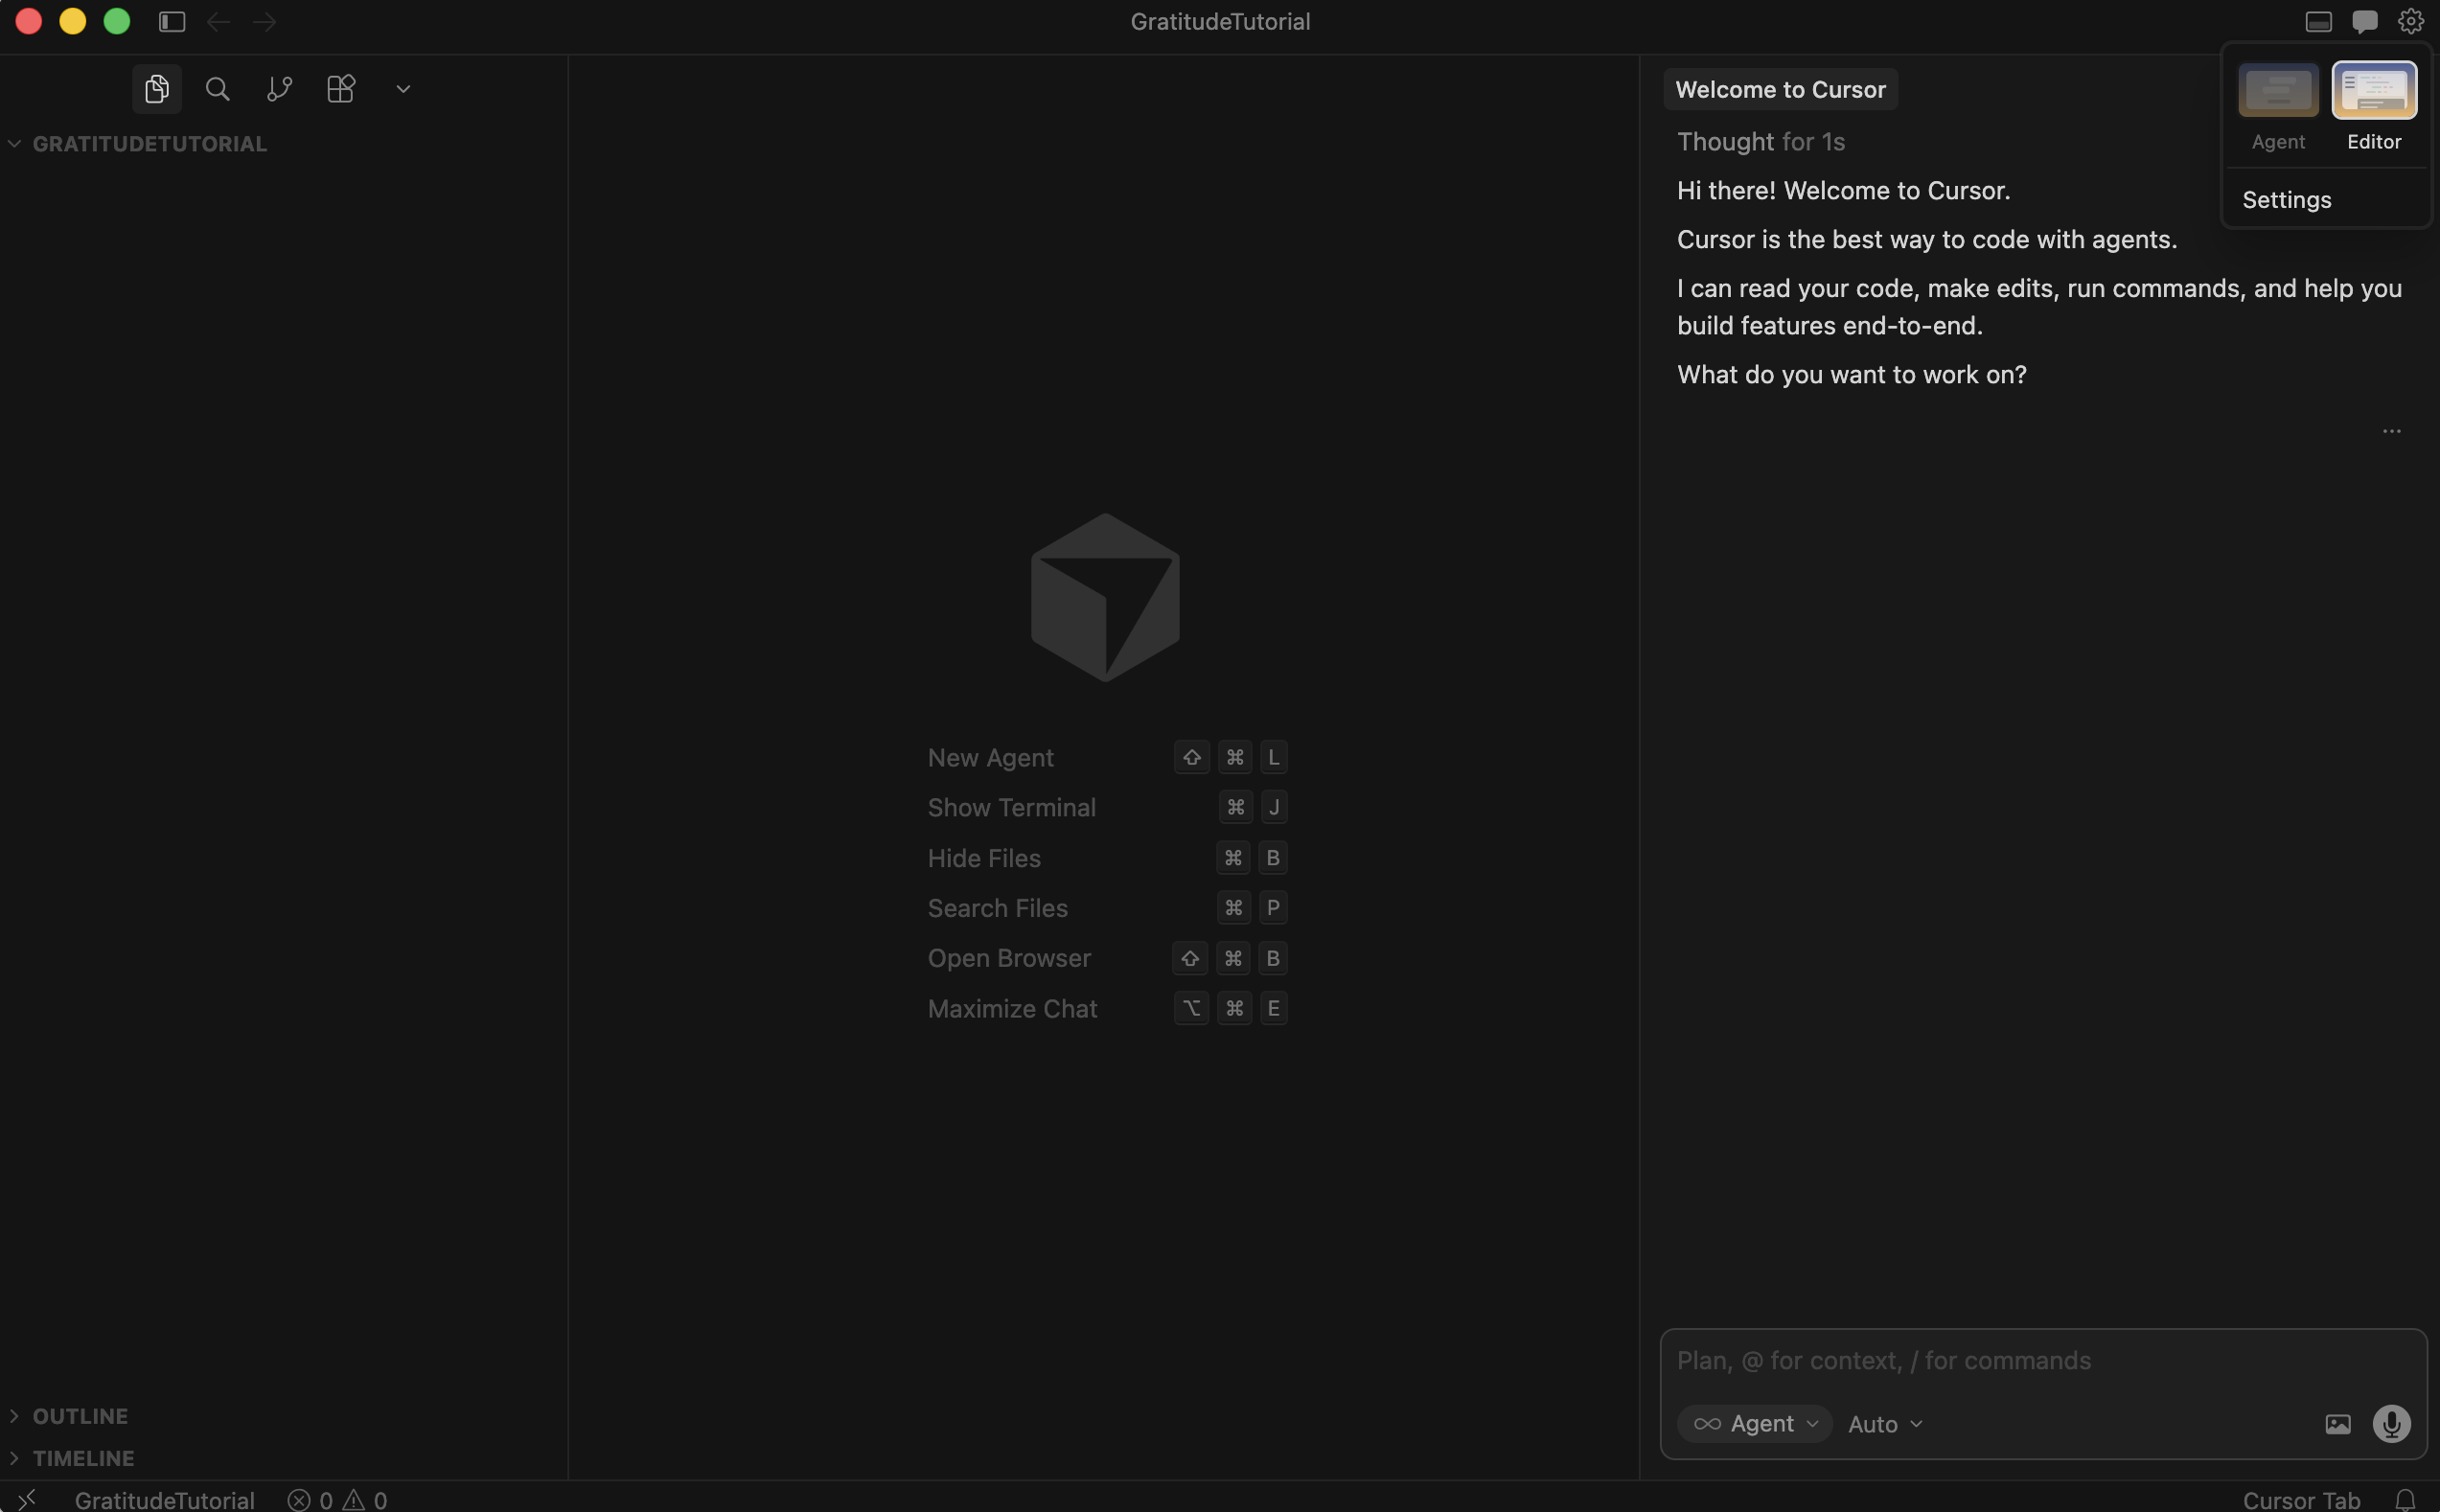
Step 6: Open Your Project in Cursor
Time to bring it all together. Let's create a project folder, open it in Cursor, and make sure Claude Code works inside it.
- Create a project folder — open your terminal and run:
mkdir gratitude-tree
cd gratitude-tree
- Open it in Cursor — run:
cursor .
Or open Cursor manually and use File → Open Folder to select the gratitude-tree folder.
-
Open the integrated terminal in Cursor — press
Ctrl + `(backtick) to open the terminal panel at the bottom of Cursor. It should already be in yourgratitude-treedirectory. -
Launch Claude Code — in the integrated terminal, run:
claude
- Send your first message — try something simple to make sure everything works. In Cursor you can use the chat or agent panel to talk to the model; this tutorial uses Claude Code in the terminal as the main workflow:
$ claude "What version of Node.js do I have installed? Also check if I have the Xcode Comm..."Don't hesitate to paste error messages directly into Claude Code and ask it to help you debug. That's one of its superpowers — it can read error output and suggest fixes. You can also copy the error and search for it online.
Checkpoint
Your app should now:
- You have Xcode Command Line Tools installed and
xcode-select -pshows a path - You have Node.js 18+ installed and
node -vworks - You have Cursor (or another code editor) installed
- You have Claude Code installed and you've sent it at least one prompt
- You have the
gratitude-treefolder open in Cursor with Claude Code running in the integrated terminal
What's Next
Your machine is ready and you've got Claude Code running inside your project. In the next chapter, we'll scaffold the project — install React, Tailwind, and all the dependencies so we have a running app in the browser.
Follow @parvsondhi for build threads, tips, and updates on this tutorial.