Chapter 2: Project Scaffolding
Time to create the project and lay the foundation for everything that follows.
By the end of this chapter, you'll have a running React + TypeScript project with Tailwind CSS styling, Firebase configured, and your project structure organized. You'll see it live in the browser.
What You'll Do
- Scaffold a new project with Vite
- Install React, TypeScript, Tailwind CSS v4, Firebase, and Lucide React
- Have Claude Code configure Tailwind and clean up starter files
- Set up your project folder structure
- Create a Firebase project and get your config keys
- See your first
npm run devoutput
Step 1: Create the Project with Vite
If you followed Chapter 1, you should have an empty gratitude-tree folder open in Cursor with Claude Code running in the terminal.
If you opened a new project in Cursor in Chapter 1, you're already in the right place. The commands below assume you're inside the gratitude-tree folder.
If you're starting fresh from a different terminal, navigate to where you want your project to live first.
Run this command to scaffold the project. Since we're already inside the gratitude-tree folder, we use . to create the project in the current directory:
npm create vite@latest . -- --template react-ts
This may ask you to install the create-vite package. Type y and press Enter to confirm.
This sets up React + TypeScript in your current folder. Now install the base dependencies:
npm install
Test that it works
npm run dev
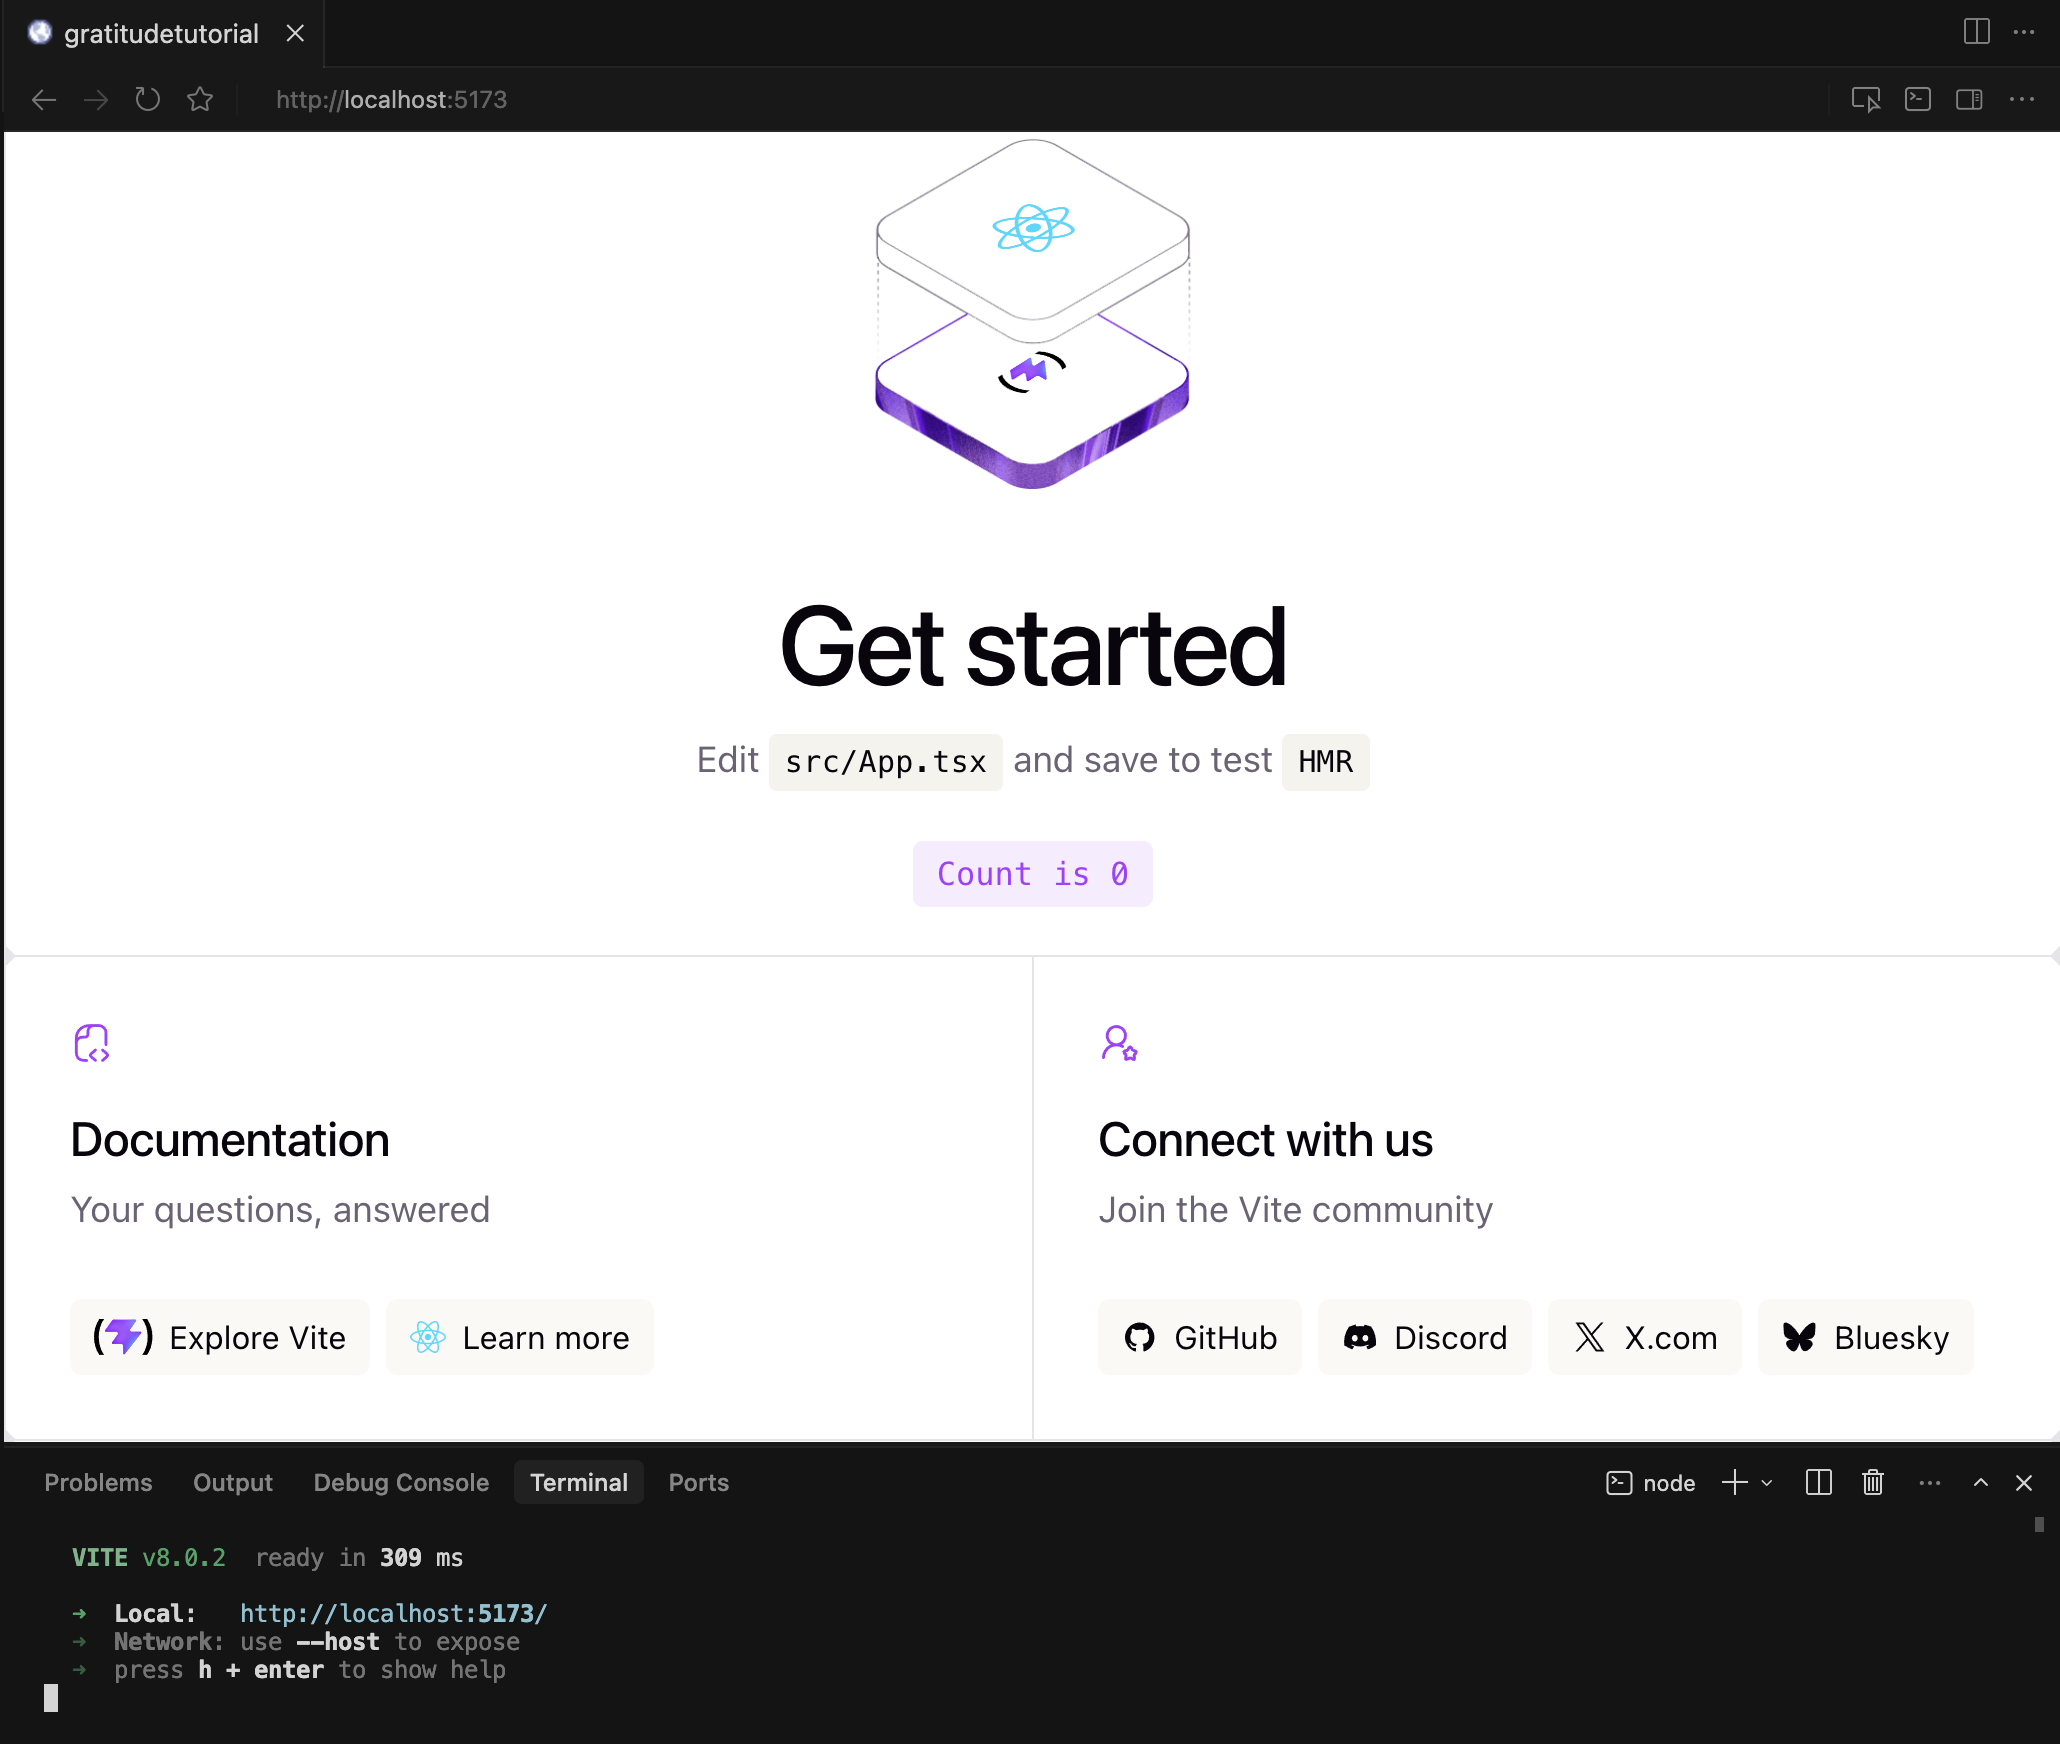
Open http://localhost:5173 in your browser. You should see the default Vite + React landing page with a counter button.
The page may look a bit weird or default-styled. That's completely ok — we're about to replace all of it with our own app.
Press Ctrl + C to stop the dev server.
Step 2: Install Dependencies
We need several packages. Run each command separately:
npm install firebase lucide-react
npm install tailwindcss @tailwindcss/vite
| Package | What it does |
|---|---|
firebase | Firebase SDK — auth, Firestore, storage |
lucide-react | Beautiful open-source icon library |
tailwindcss | Utility-first CSS framework |
@tailwindcss/vite | Vite plugin for Tailwind CSS v4 |
Capacitor and its plugins are only needed when we wrap the web app for iOS. Installing them now would just add confusion. One step at a time.
Step 3: Configure Tailwind CSS v4
Tailwind CSS v4 uses a new Vite plugin instead of the old PostCSS setup. It's much simpler — and Claude Code can handle the entire configuration for you.
$ claude "Configure Tailwind CSS v4 in my Vite project. Add the Tailwind Vite plugin to vi..."Step 4: Clean Up the Starter Files
Vite's template comes with demo content we don't need. Let's have Claude Code clear it out and set up our starting point.
$ claude "Clean up the Vite starter files for our GratitudeTree app. Replace src/App.tsx w..."Test it
npm run dev
You should see a warm amber page with "GratitudeTree" centered on the screen. If Tailwind classes are working (amber background, bold text), your setup is correct.
Step 5: Set Up the Folder Structure and Project Context
A clear folder structure keeps you organized as the app grows. Let Claude Code create the folders and a project context file.
$ claude "Create the folder structure for our app: src/components/, src/pages/, src/lib/, ..."The folders will be used for:
components/— Small, reusable pieces. A button, a card, a header.pages/— One file per screen.Feed.tsx,Profile.tsx, etc.lib/— Configuration and utility functions. Firebase config lives here.hooks/— Custom React hooks likeuseEntries()oruseAuth().
Step 6: Set Up Firebase
Firebase provides our backend — authentication, database, and file storage — without building a server.
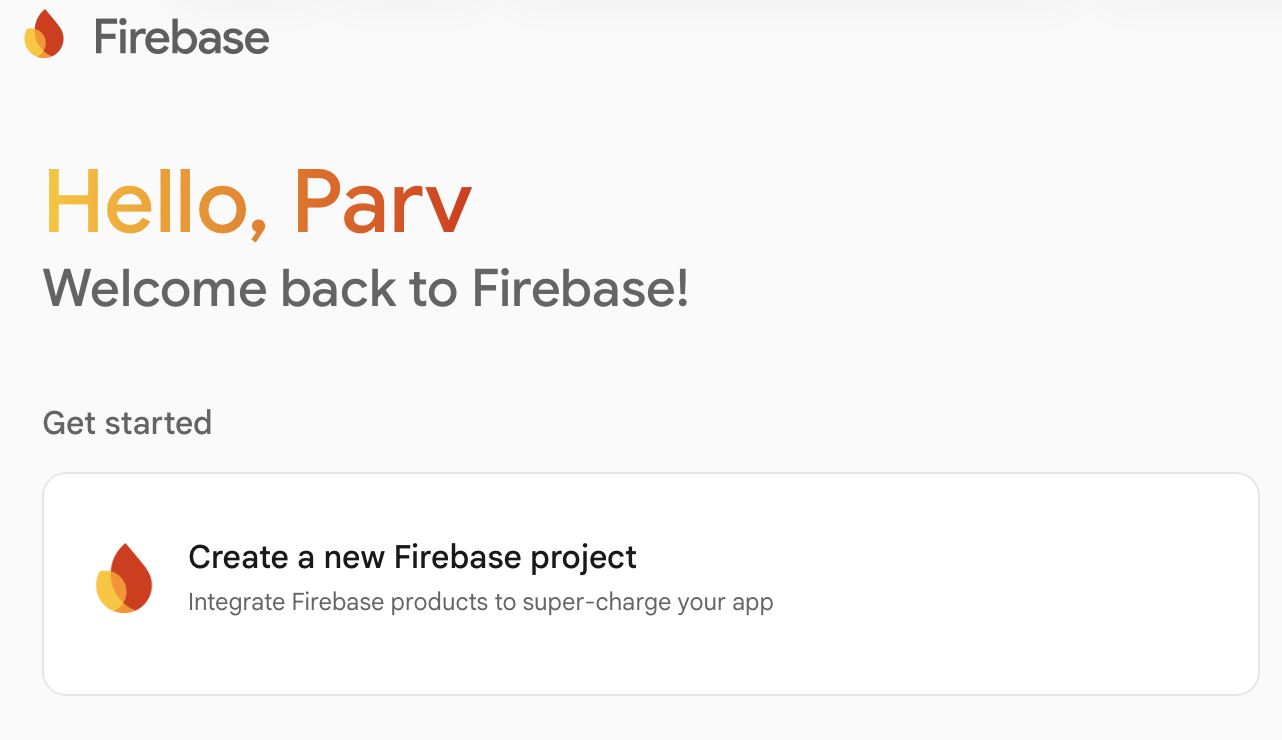
Create a Firebase Project
- Go to console.firebase.google.com
- Click + Add project
- Name it
gratitude-tree(or anything you like) - Disable Google Analytics (we don't need it and it adds complexity)
- Click Create project
Register a Web App
- In your Firebase project dashboard, click the web icon (
</>) to add a web app - Name it
gratitude-tree-web - Don't check "Also set up Firebase Hosting"
- Click Register app
- Firebase will show you a config object — copy it
Don't worry about pasting the config anywhere yet. We'll create a .env file and a firebase.ts config file in the next step. Just keep the config values handy (you can always find them again in Firebase Console → Project Settings → Your apps).
Enable Firestore Database
Use the left sidebar under Build to open Firestore, Storage, and Authentication:
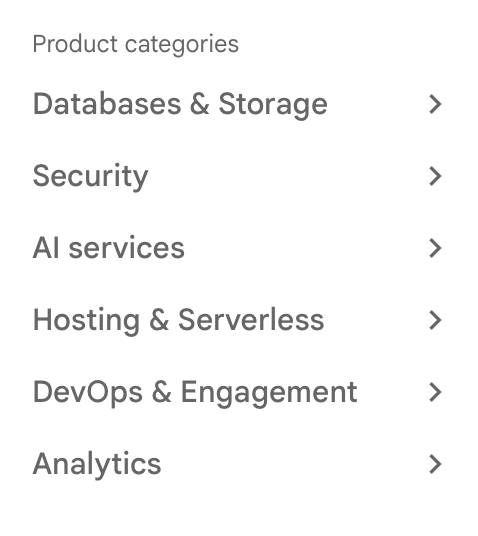
- In the Firebase console left sidebar, expand Build and click Firestore Database
- Click Create database
- Choose Start in test mode (we'll add security rules later)
- Pick a location close to you (e.g.,
us-central1for North America)
Enable Storage
- In the left sidebar, expand Build and click Storage
- Click Get started
- Choose Start in test mode
- Same location as Firestore
Enable Authentication
- In the left sidebar, expand Build and click Authentication
- Click Get started
- Under Sign-in method, enable Email/Password
Step 7: Configure Environment Variables and Firebase
Never commit API keys directly in your code. We'll use environment variables.
Create a .env file in the project root (same level as package.json):
$ claude "Create a .env file in the project root with placeholder Firebase config variable..."Now open the .env file and replace the placeholder values with the real ones from your Firebase config.
The .env file must be in your project root — the same folder that contains package.json. If it's nested inside src/ or anywhere else, it won't work.
Create the Firebase config file
Now let Claude Code create the file that initializes Firebase in your app:
$ claude "Create the Firebase configuration file at src/lib/firebase.ts. It should initial..."Step 8: Initialize Git (Optional)
If you're using Git for version control, this is a good time to initialize your repository:
git init
git add .
git commit -m "Initial project setup: React + TypeScript + Tailwind + Firebase config"
Git is optional for this tutorial. If you're not using Git, skip this step — everything saves locally on your machine.
Step 9: Final Verification
Let's make sure everything works together:
npm run dev
Open http://localhost:5173 and confirm the page loads with GratitudeTree on an amber background. No errors in the browser console (Cmd + Option + J in Chrome).
$ claude "Review my project structure and tell me if I'm missing anything before I start b..."Don't hesitate to paste error messages directly into Claude Code and ask it to help you debug. You can also copy errors from your terminal and ask Claude Code to explain what went wrong and how to fix it.
Checkpoint
Your app should now:
- Running
npm run devshows a page with "GratitudeTree" on an amber background - Tailwind CSS classes are working (you can see the amber colors and centered layout)
- The
src/lib/firebase.tsfile initializes Firebase - Your
.envfile has your Firebase config keys - A
CLAUDE.mdfile exists with your design directions - You have a
src/components/,src/pages/,src/lib/, andsrc/hooks/folder structure
What's Next
The foundation is laid and your project is running. In the next chapter, we'll use Claude Code to plan the app — scope the MVP, define the features, and create an implementation plan before writing any app code.
Follow @parvsondhi for build threads, tips, and updates on this tutorial.